How to Set Up the Client Portal
The client portal gives your clients an easy way to access their account, view updates, and onboard seamlessly. Follow the steps below to set up and customize your portal.
Step 1: Go to Company Settings
- Log in to your account.
- Click on Company Settings in the navigation menu.
- Select the Client Portal tab at the top of the page.
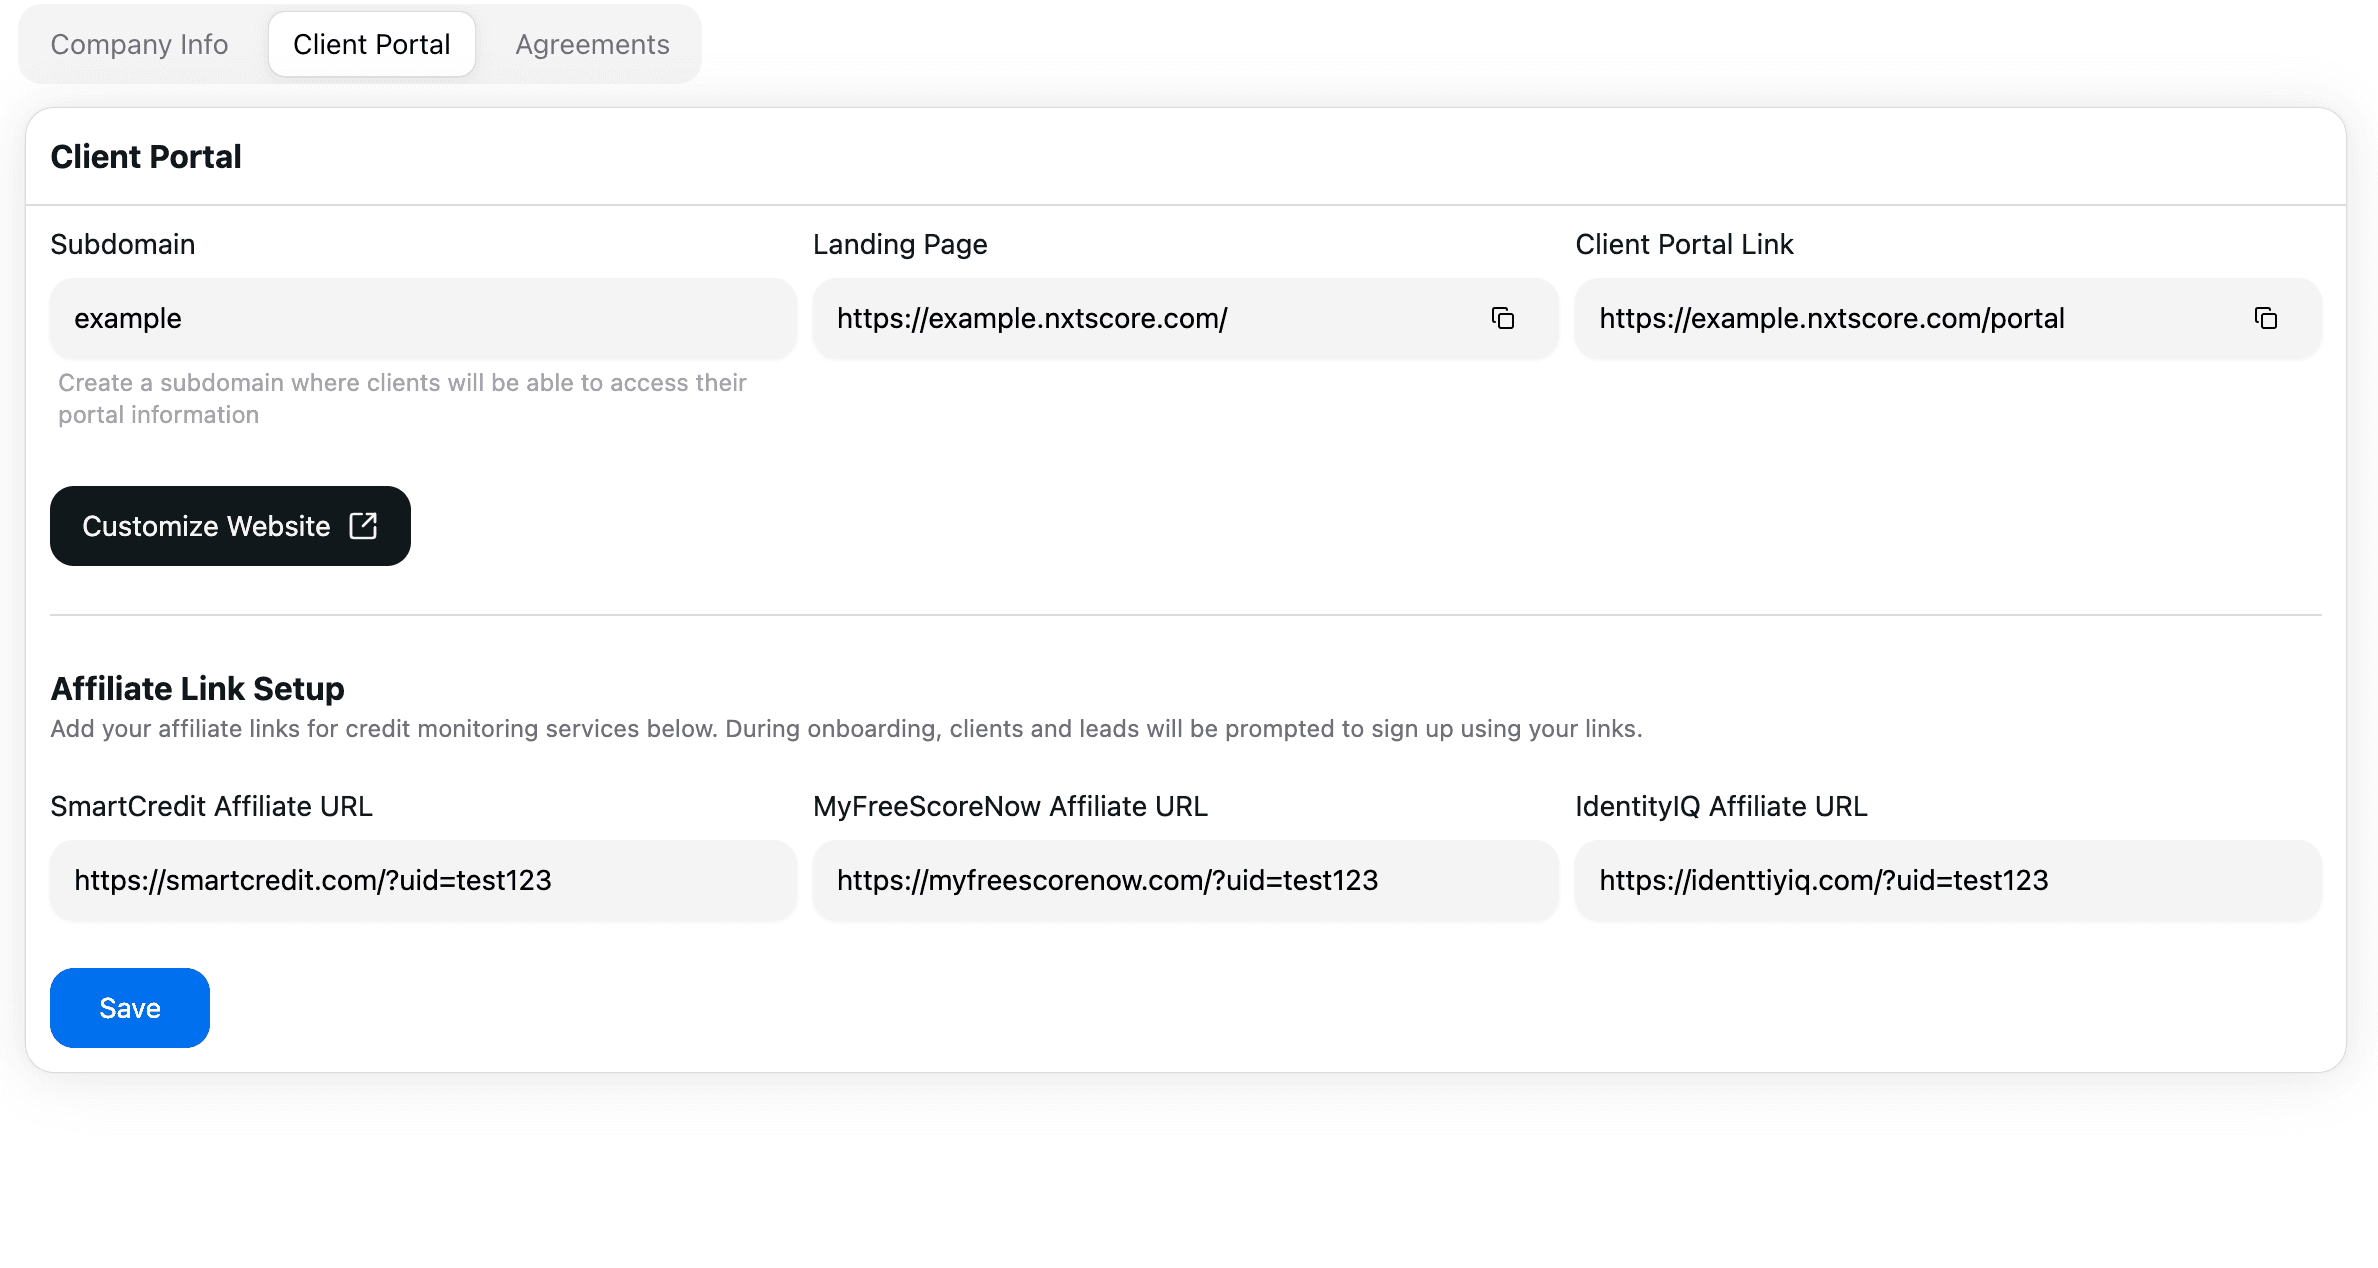
Step 2: Choose a Subdomain
- In the Client Portal settings, you’ll see a field to enter a subdomain.
- Example:
yourcompany.nxtscore.com
- Example:
- Type in your desired subdomain.
- Click Save to apply changes.
- After saving, your client portal will be live and accessible at the subdomain URL you created.
Step 3: Customize the Portal
- Click the Customize button in the Client Portal settings.
- Choose a landing page template from the available options.
- Apply your preferred design to match your company’s branding.
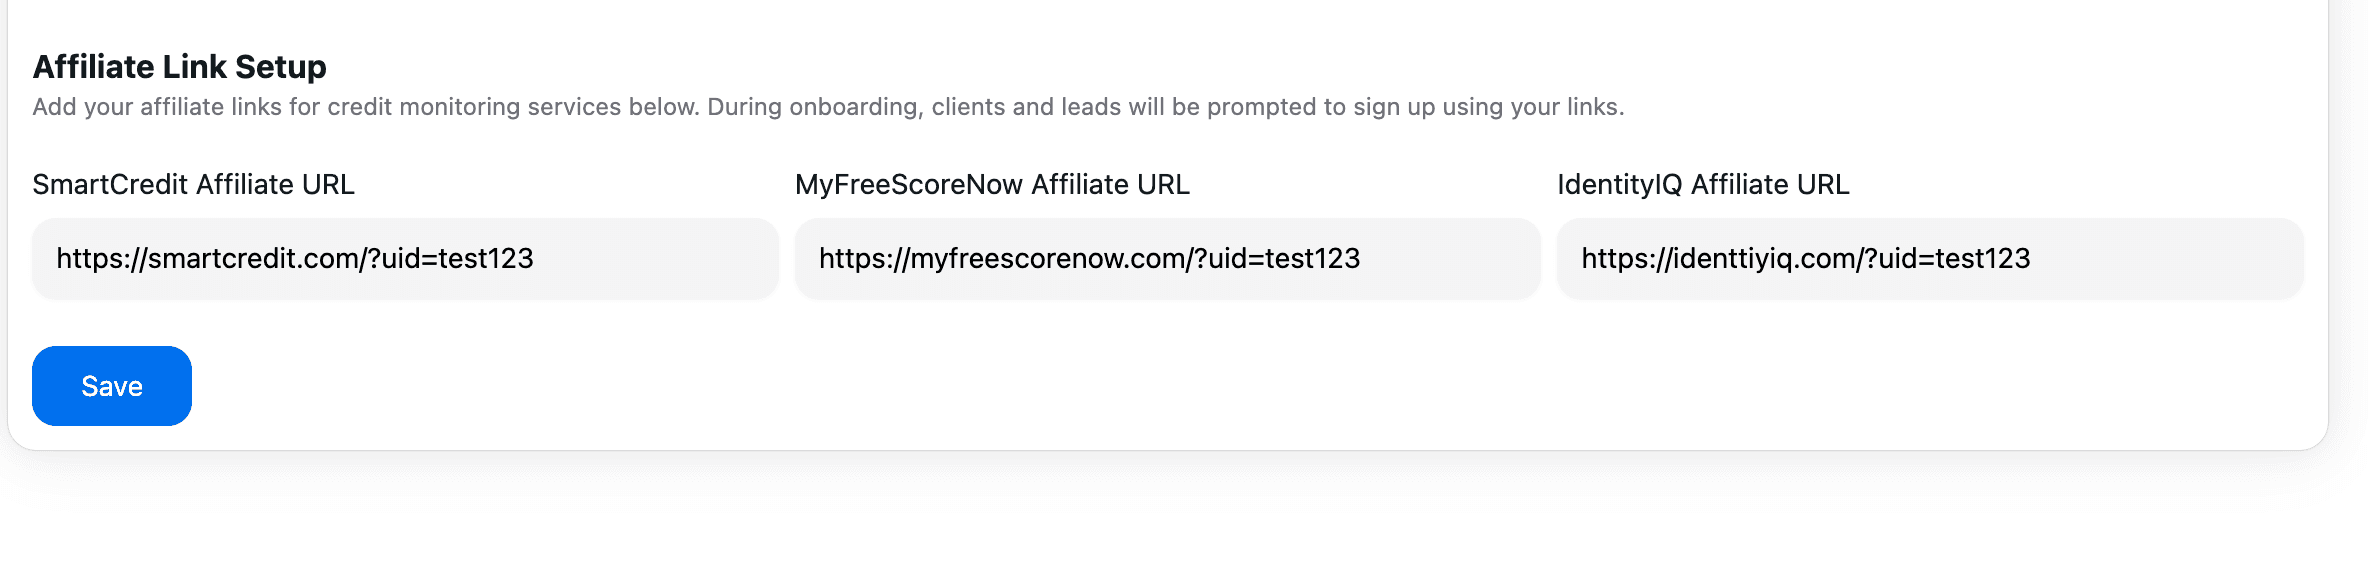
Step 4: Add Credit Monitoring Affiliate Links
- If you are affiliated with any of our credit monitoring providers, scroll down to the Affiliate Links section.
- Paste your affiliate link(s) into the corresponding fields.
- Once saved, new clients and leads will be prompted to sign up using your link during onboarding.
✅ Your client portal is now ready! You’ve set up your subdomain, customized your landing page, and added affiliate links to streamline onboarding.